Recently, while working with my MacBook, I realized that I had installed and uninstalled many programs; there were programs, requirements, and residues that were necessary for my previous projects but had no meaning after my work was finished. And I decided to clean them up. Although the MacBook is UNIX-based and doesn’t bloat over time like Windows, our SSD storage spaces are gradually filling up unless we clean this unnecessary data.
At this point, I looked at how I should perform a cleaning. macOS is designed as a “closed circuit” as much as it is beautiful. For example, in Windows, many files are right in front of your eyes, but in MacBook, Finder doesn’t shove everything in your face like in Windows; you have to search and find it. There are some tools developed for this subject, I tried one but I didn’t like it much. That’s why I wanted to use a method that is completely free and everyone can use, and a tool that those who love to use will adore, and which I also love: the Terminal.
Stage 1: Taking an X-Ray of the System
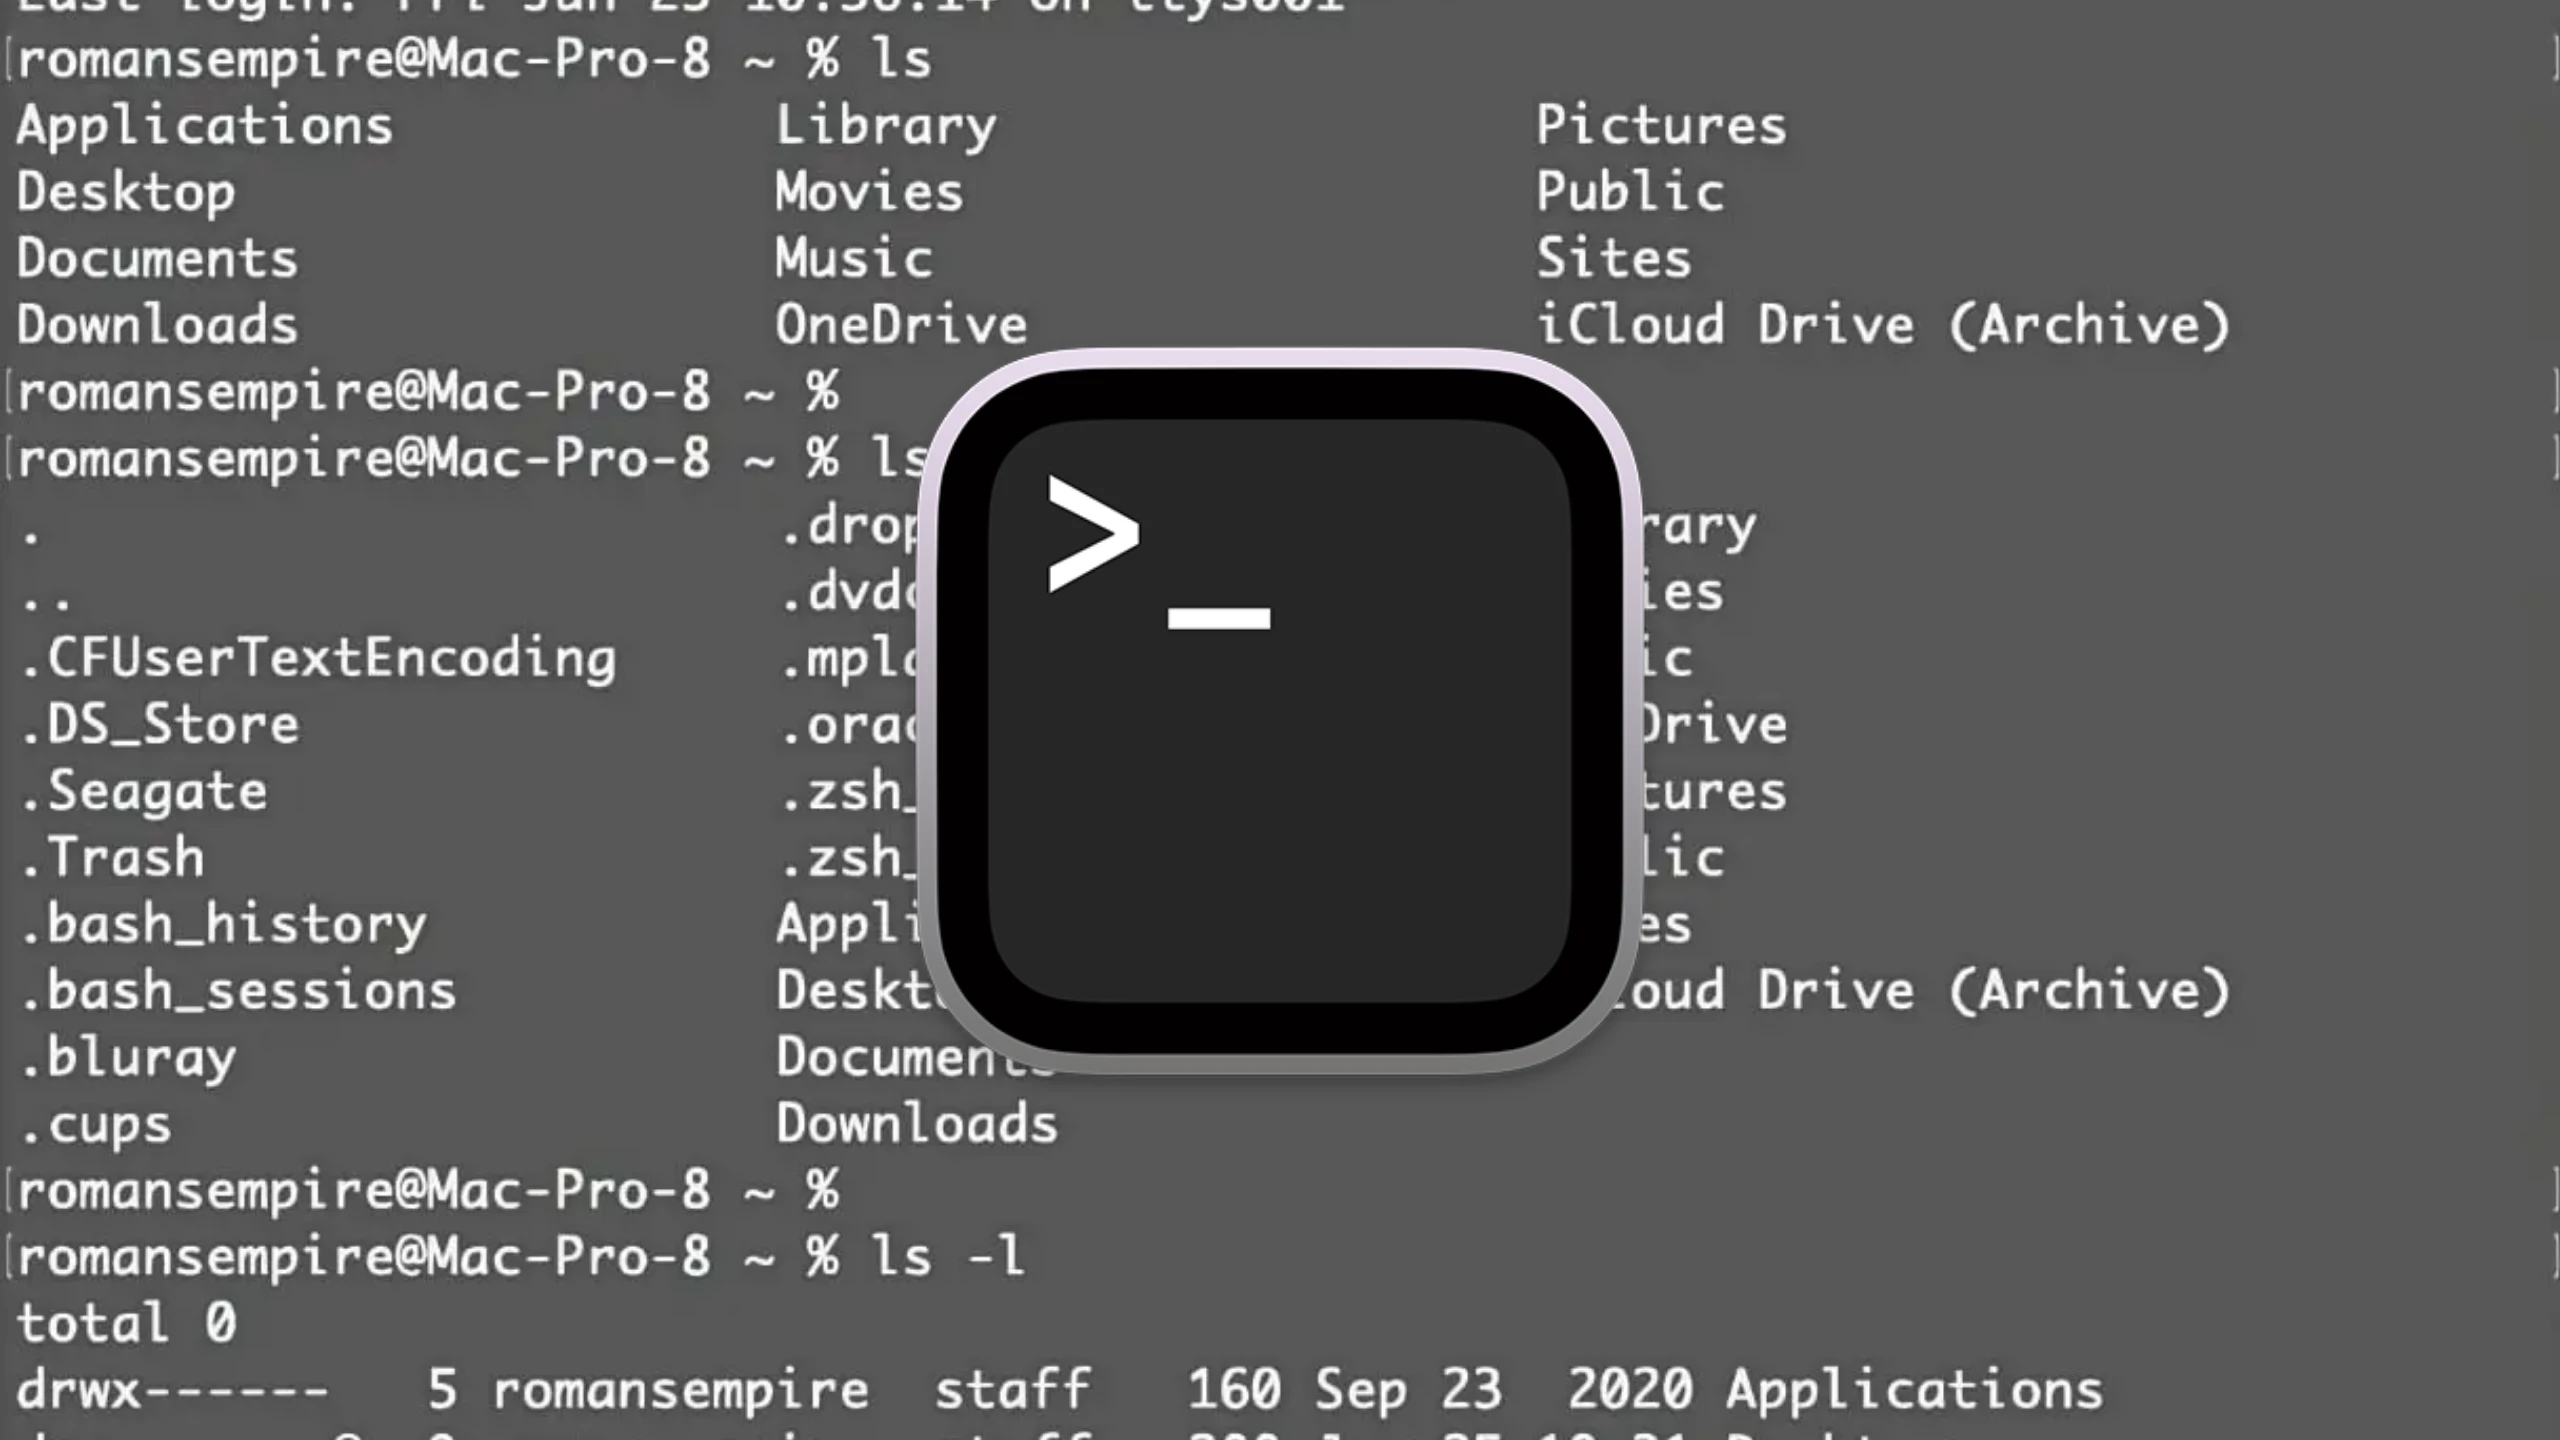
First, when I looked at the storage section in the settings, I saw a lot of data. For example, the system was telling me that I had about 80 GB of “Documents”; but when I wanted to get more information on this subject, macOS was not showing me the details. To find out more about what was going on in the system, I opened the Terminal and said: “Who is taking up how much space in my system?”
To be able to tell macOS this in its own language, we use the following command:
Command: du -sh ~/* ~/.* 2>/dev/null | sort -rh | head -n 10
Detailed Explanation of the Command:
du(Disk Usage): It calculates the size of files and folders.-s(Summary): It gives the total size instead of listing everything in the folder one by one.-h(Human-readable): It writes the sizes in an understandable format like 1G, 500M instead of bytes.~/*: Represents all visible files in the home directory.~/.*: Represents all hidden files (those starting with a dot) in the home directory.2>/dev/null: It means don’t print error messages (like unauthorized folders) on the screen, throw them in the trash.|: Transfers the result of the command on the left to the command on the right.sort -rh: Sorts the results from largest to smallest as Reverse and Human-numeric.head -n 10: Brings the first 10 lines at the top of the list.
Stage 2: Diving into Suspicious Folders
After roughly seeing who takes up how much space in the system with the 1st stage, we needed to go a little deeper into the system in the second stage. On my Mac, the Library and Application Support sections were taking up the most space. I wanted to focus on them. I recommend you focus on the sections you got in Stage 1 and update these commands accordingly, friends; however, since these sections generally bloat on a Mac, you can also use them directly.
Command: du -sh ~/Library/Containers/* | sort -rh | head -n 5
Explanation:
It works almost the same as the command I wrote above, the differences are:
~/Library/Containers/*: We specified the address where the search will be performed, and with the asterisk (*), we said “everything inside.”-n 5: This time we said bring the first 5 from the top so that we can see the biggest “whales.”
At this stage, I saw that the one taking up the most space was our old friend Docker.
Stage 3: Overcoming “Operation Not Permitted” Obstacles
Apple does not allow us to see some folders due to system security; you may see phrases like “Operation not permitted” next to some folders in the terminal. If you want, you can give authorization to the Terminal under System Settings > Privacy & Security > Full Disk Access. However, doing this is entirely your responsibility; I recommend giving authorization if you know what you are doing.
Personally, I didn’t want to deal with this much, and I didn’t see the need. Because even if you don’t give permission, the terminal asks you for permission to access some places anyway while scanning, and giving them was enough for us.
Stage 4: Hidden “Dotfiles” Hunt
If “Documents” appears as 80 GB in Finder or the settings storage section, but when you go inside, 20 GB of files do not appear, the difference is in the “hidden” files. We need to find them.
Command: du -sh ~/* ~/.* 2>/dev/null | sort -rh
Let me explain the command briefly. Assuming you already know the basic commands in the front. With “~/*“, we said scan all visible files in the directory, and with “~/.*“, we said scan all invisible files. Additionally, in this command,” 2> ” means “Error Channel” in the terminal, so we said don’t give me system outputs like “operation not permitted” or “you don’t have permission brother.” And finally, with “/dev/null“, we included the system’s trash can in the process.
Our Discovery:
As a result of this scan, I encountered these hidden giants:
- .gradle (18 GB): Cache of Android projects.
- .npm (5.2 GB): Copies of Node.js packages.
- .colima (5.7 GB): Disk image of a virtual machine similar to Docker.
In this part, I encountered a tool that I didn’t even remember using before – Colima. Note: Apple counts these hidden developer files into the “Documents” category, but normally you don’t see them in Finder.
Stage 5: Cleaning
Finally, I cleaned these residues I found from the system.
Basic Command Used: rm -rf
The basis of this command is this, friends: after writing the command, it is enough to write the path of the file you want to delete. For example, I did the following cleaning in my own system:
- Docker Residues:
rm -rf ~/Library/Containers/com.docker.docker - Cursor Data:
rm -rf ~/Library/Application\ Support/Cursor - Android NDK:
rm -rf ~/Library/Android/sdk/ndk - Colima Virtual Machine:
colima deleteandrm -rf ~/.colima - General Cache:
rm -rf ~/Library/Caches/*
Conclusion
In general, I have cleaned up all the unnecessary junk left behind by those tools I used in the past, friends. For those who love using Terminal, this is both the most “free” and the most effective method.